 Exposed Surfaces v Two
Version 2.0 is a little more to my liking. Of course, it's substantially more expensive to create, but I just had to find out if it was worth it. So my first stop was to Home Depot.
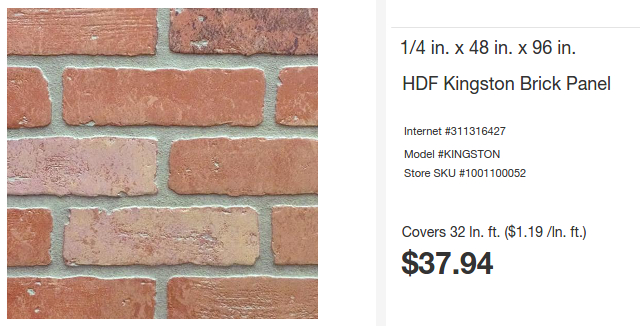
This was the panel I chose, however you should be aware that Home Depot has a pretty good range of selections, from slate to stone to this worn red brick. I saw a few to my liking and some that just wasn't going to do.
The first thing I noticed was how beached it was. This didn't resemble a brick wall buried for years behind dry wall before being exposed. It looked more like brick that had been bleaching in the sun for years. I needed to give it a little more character and weathering.

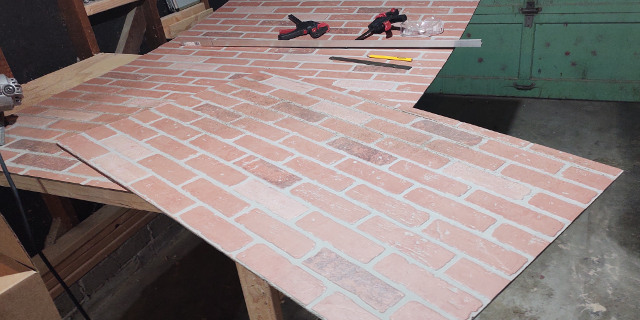
Using a wash of brown, black, and red acrylic paint mixed with water, I weathered the brick. It darkened the tone, giving the Faux Brick a richer color. I then took some DAP plaster and stained it.
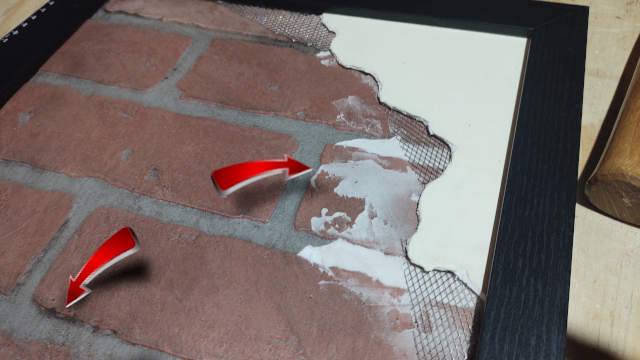
The acrylic wash I used to weather the Faux Brick created dark and dingy crevices while the DAP allowed for a different type of weathering.
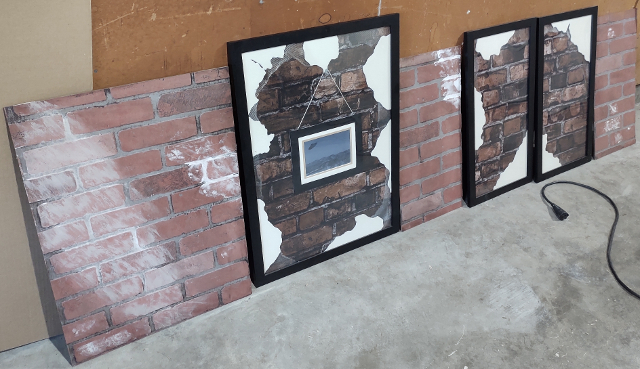
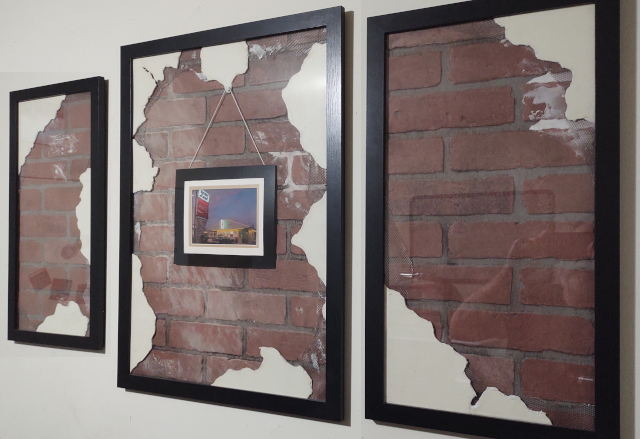
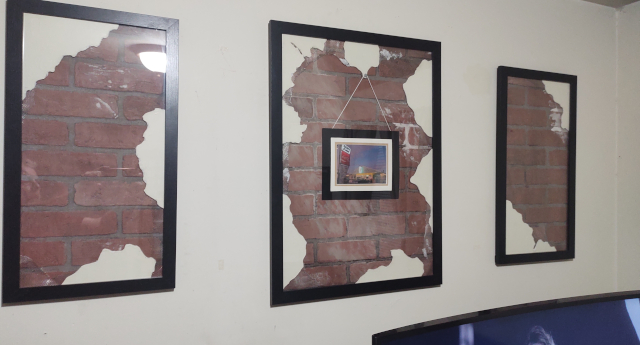
Here you can see the difference before replacing it. Like I said, the first version looks very good.
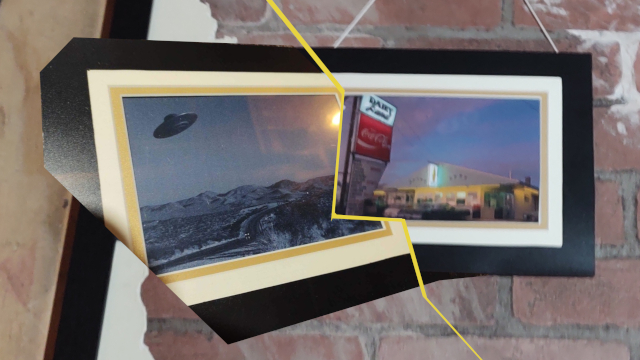
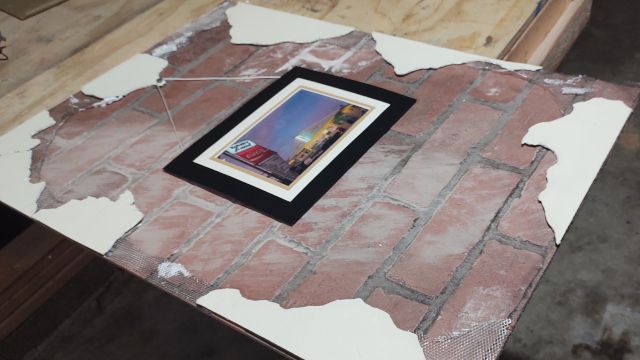
I also decided to go for a more colorful center picture as in contrast to the black and white UFO picture. Not that the UFO picture isn't AWESOME! I just wanted more color.
Re-hanging the new picture.

The nail is a roofing tack. I cut it down and hot glued it into place.
And to steel a little info from the first version...
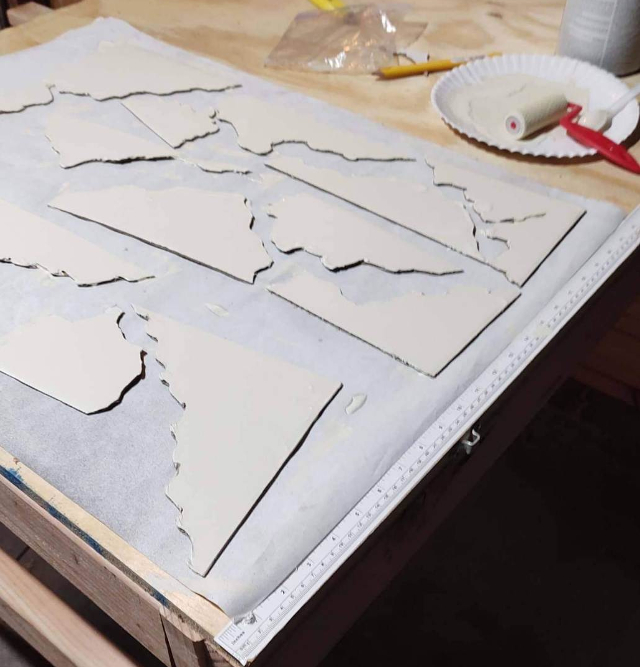
Grabbing some cardboard, the pint of house paint I keep for repairs and some DAP (plaster for repairs). I "hastily" cut out some jagged pieces. capped the jagged, corrugated edges with DAP and painted them using a quart of the house paint I use for patching up walls or scuffs.
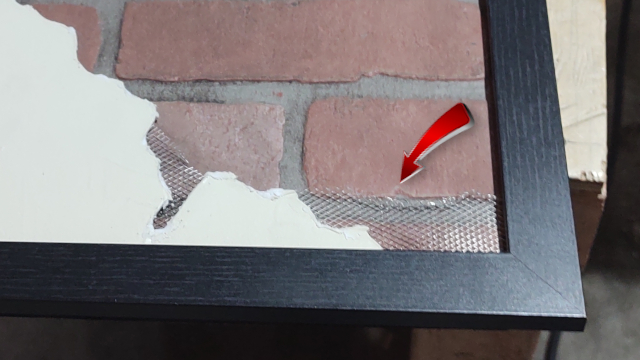
I took some wire mesh, cut it up in jagged pieces weathered it with brown and black spray paint in random sections. With a little time and hot glue I had something real. But I confess, chicken wire may have been a better selection.